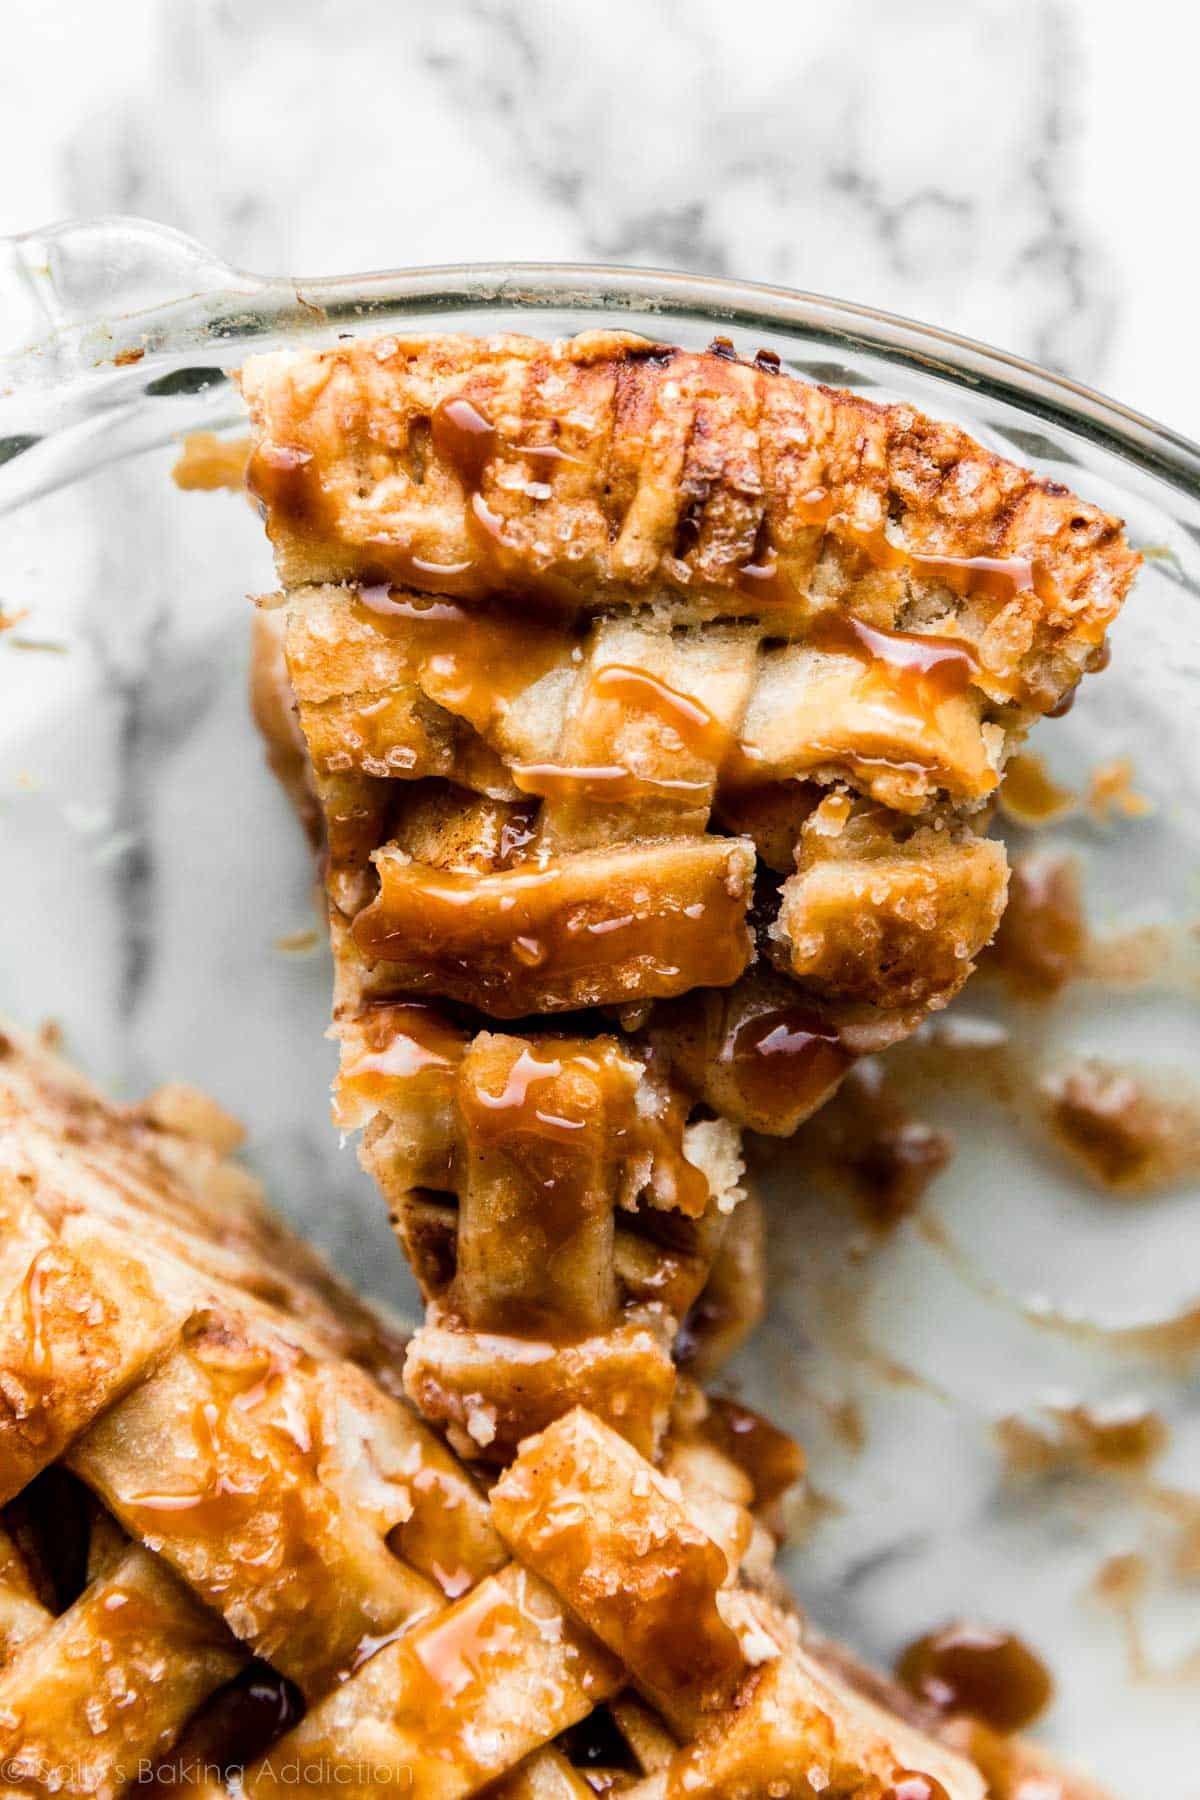
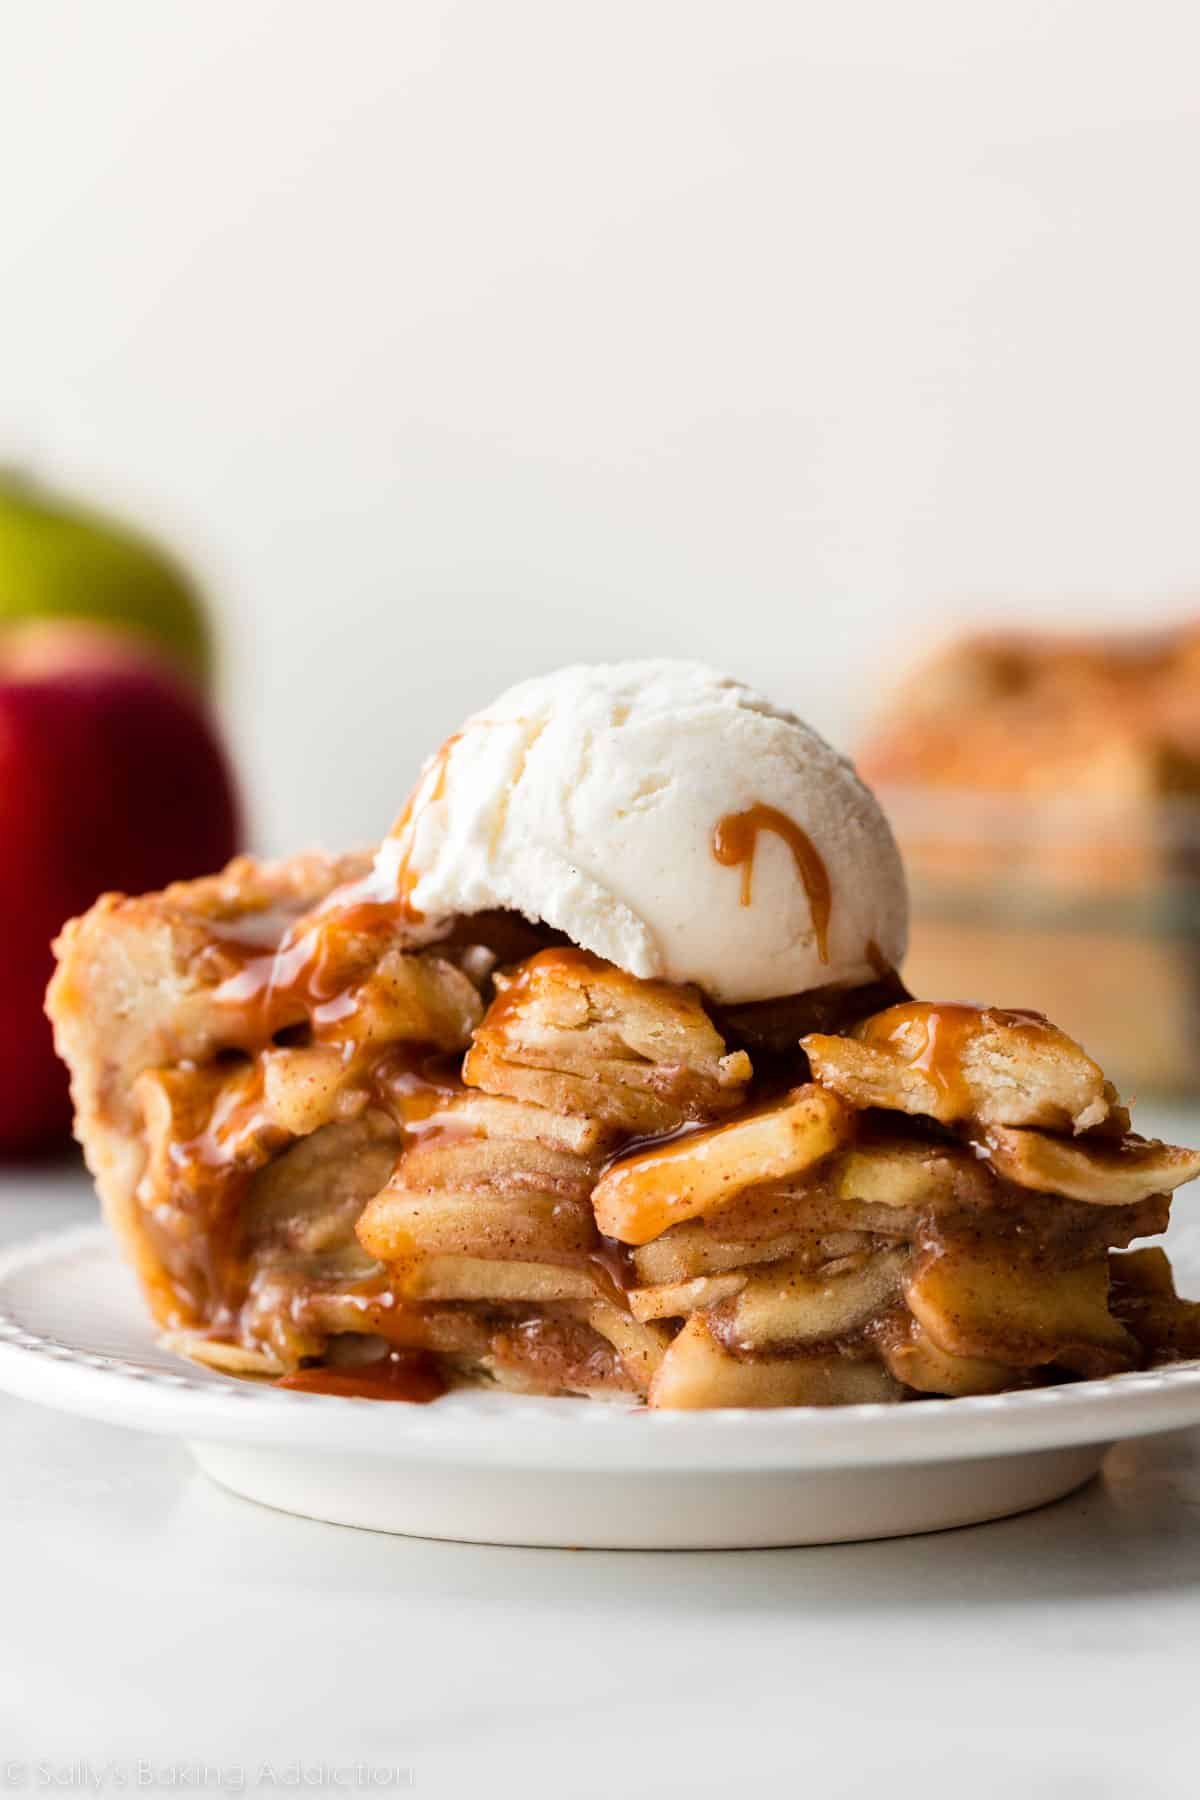
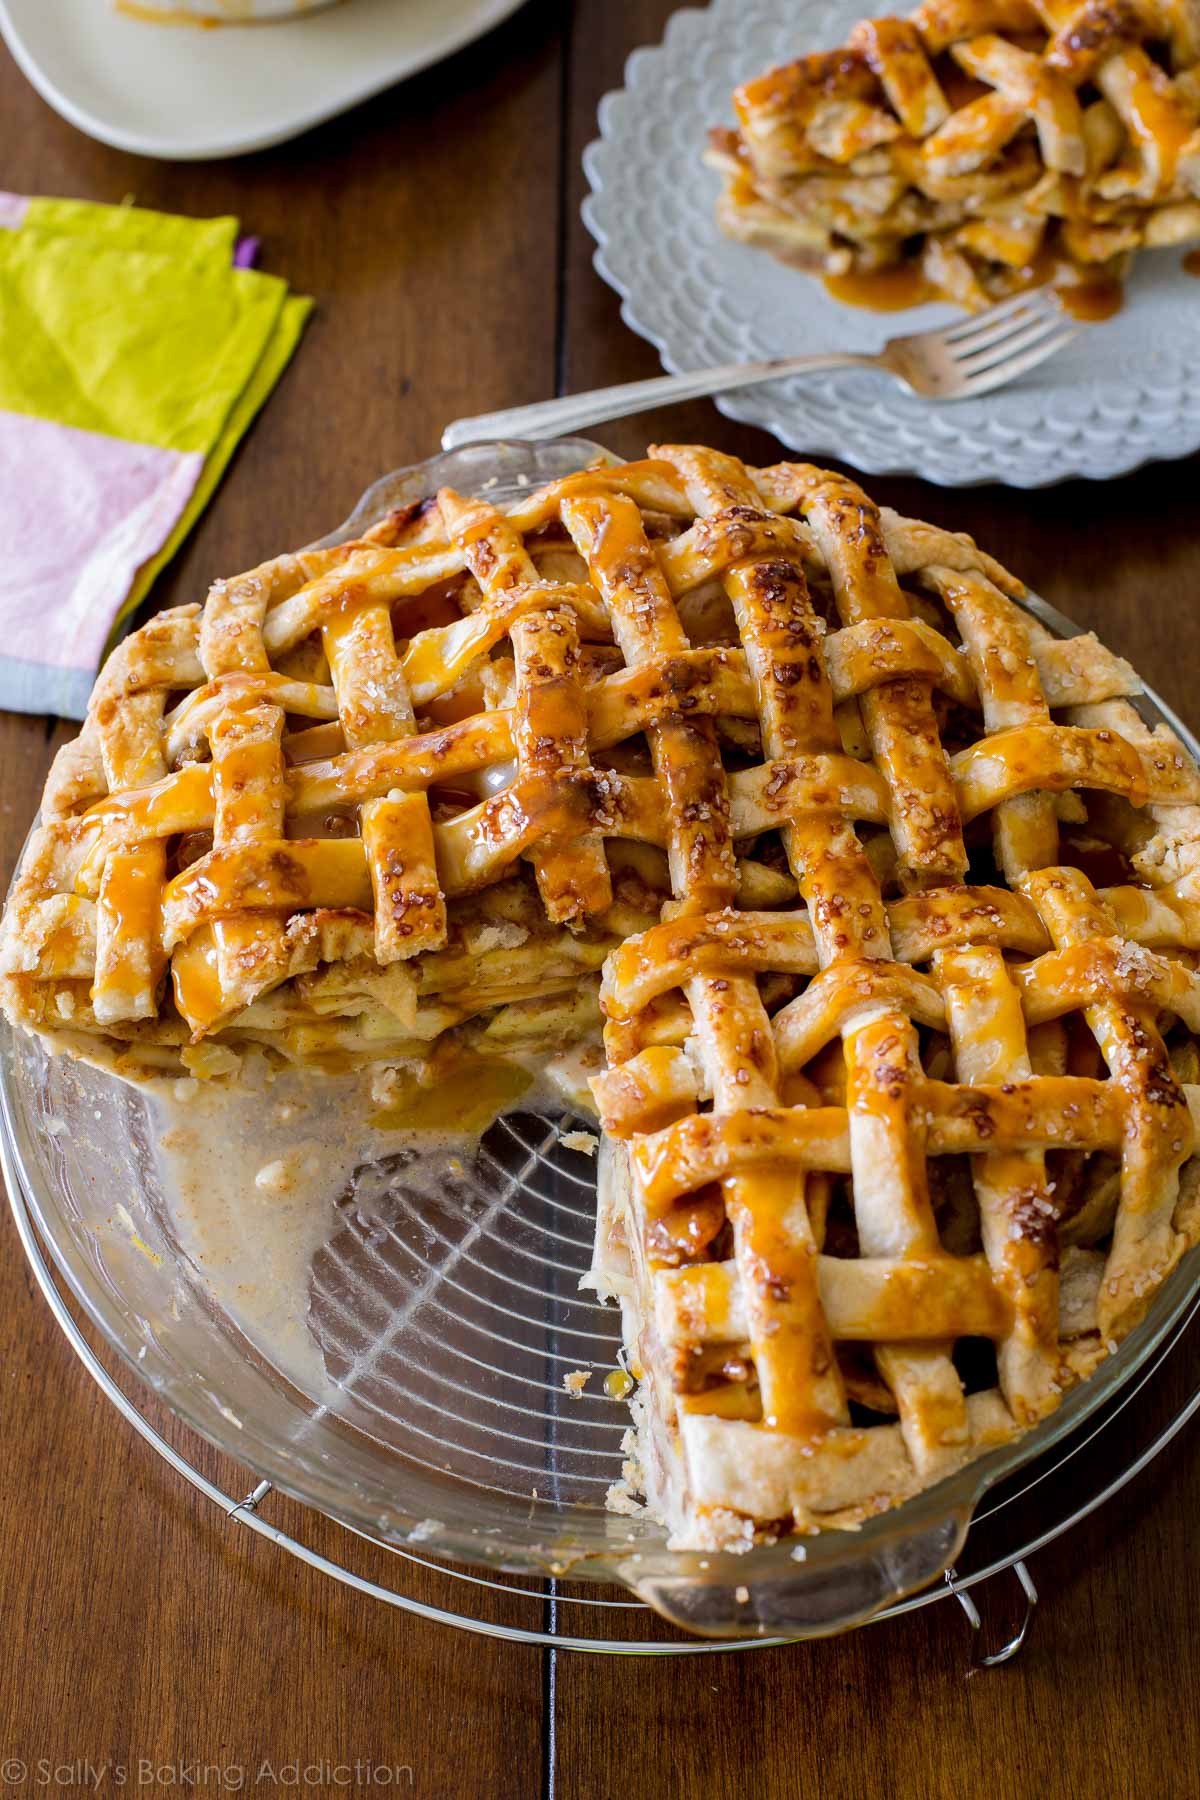
You will love this updated version of a classic: salted caramel apple pie. It has all of the flavor you love from caramel apples, with the added bonus of a buttery, flaky pie crust. It’s always one of the top-rated Thanksgiving pies on my website, but you don’t need to wait for a special holiday to make it. Top each slice with vanilla ice cream for a dessert that dreams are made of!
I originally published this recipe in 2013 and have since added new photos and success tips.

This is one of the first pie recipes I originally published on my website. And it’s still one of my absolute favorite desserts! I make it every Thanksgiving, along with pumpkin pie.
Many readers agree—this special variation on traditional apple pie is simply the best:
One reader, Mallory, commented: “I made this for Friendsgiving this year using your all-butter pie crust, salted caramel, granny smith apples, and pink lady apples. It started as the prettiest dish on the overcrowded table and ended with friends licking the empty pie pan. It wasn’t overly sweet and the salty caramel added the perfect touch of salty-sweet to put this in the AMAZING category. I will be making a couple more of these pies through the holiday season. Thanks, Sally! ★★★★★“
Another reader, Sandy, commented: “Pie perfection! I’m an experienced baker, but apple pie has always been my nemesis. Until now. Both the pie and salted caramel came out wonderfully. The apples were perfectly cooked—not mushy or runny and with just the right amount of sweetness and spice. The dough was easy to work with and the lattice was beautiful!… Sally, your recipes never ever disappoint. Thank you!! ★★★★★“
Here’s Why You’ll Love This Salted Caramel Apple Pie
- Cinnamon-spiced apples
- Extra extra apple filling (pile it high!)
- Buttery, flaky golden pie crust
- Sweet, salty, gooey salted caramel (need I say more?)
- Tastes amazing with vanilla ice cream
There are 3 parts to this pie. It’s pretty similar to my regular apple pie, but with salted caramel inside and on top. (The most flavorful addition!) First, we have the buttery, flaky pie crust, then the cinnamon-spiced apples, and finally the salted caramel. Let’s start with the crust. Have you ever made pie dough from scratch before?
Start With Quality Pie Dough
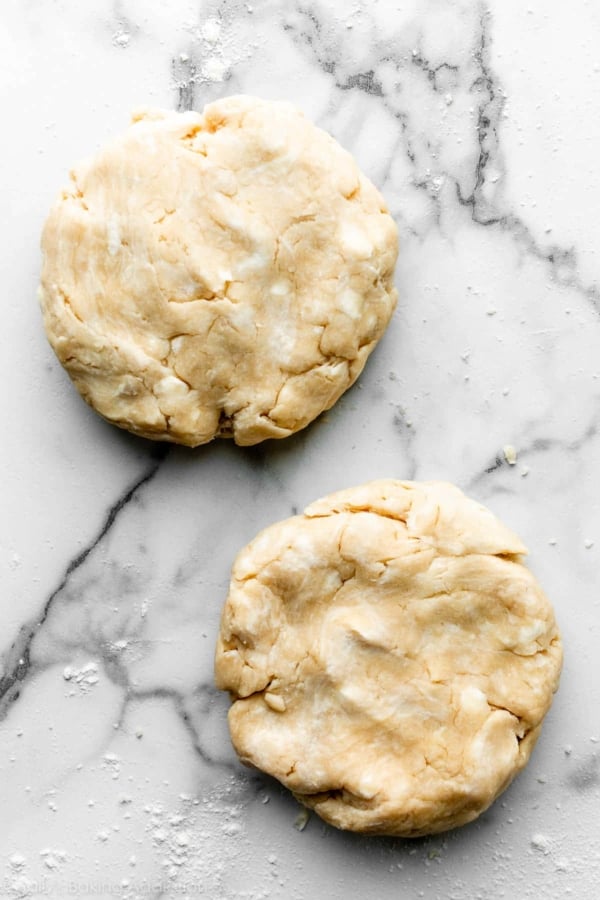
Pie crust can be tricky, but it doesn’t have to be. It’s made with a few simple ingredients. Flour, salt, cold water, and fat. You can make pie crust with shortening or with butter. Why shortening? Shortening aids in creating flakiness. Flaky, tender, melt-in-your mouth crust. Why butter? Butter imparts unparalleled, impeccable flavor. Nothing beats butter when it comes to flavor!
My favorite pie crust recipe uses both, for the best of both worlds. Flaky, tender, buttery pie crust made from shortening AND butter. And if you’re looking for an all-butter pie dough, here is my favorite recipe for all-butter pie crust.
Each of these pie dough recipe posts includes a helpful video tutorial, step-by-step photos, and lots of troubleshooting tips.
#1 Pie Crust Success Tip
Keep the pie dough cold whenever you aren’t working with it. Leave the pie dough in the refrigerator while you make the apple filling.

Best Filling Ingredients to Use & Why
- Apples: You need about 8 large apples. Just like when we make apple cake, I recommend using half tart and half sweet. I love tart Granny Smith apples paired with a sweet variety such as Pink Lady, Honeycrisp, Jazz, or Fuji. You get more complex flavor in each bite when you use a combo.
- Sugar: Use granulated sugar to sweeten the apple pie filling. You don’t need too much, because you will also be adding the sweetness of the salted caramel.
- Lemon: A squeeze of lemon is crucial in apple pies. Not enough to taste the lemon, but just enough to prevent the apples from browning and to keep the flavor bright. (Apple pies can taste a little flat without it.) For these reasons, I also use lemon in my apple cinnamon babka recipe.
- Flour: Flour thickens the pie filling, turning the juices into a gooey filling that sets up, for a perfectly sliceable pie. I don’t use cornstarch here, flour is my top choice. I prefer cornstarch for berry pies, like this blueberry pie.
- Spices: Cinnamon and nutmeg add unparalleled flavor. For added warmth, add some allspice or cloves. You can really use either; they’re like a cozy hug for your tastebuds. 😉
- Salted Caramel: You can use store-bought caramel sauce or you can make this popular homemade salted caramel sauce. I recommend homemade; my recipe is salty, sweet, and irresistibly buttery. You make it on the stove with only 4 simple ingredients, and 2 of those ingredients are also used in the filling and the crust (sugar and butter). No candy thermometer required, and you can make the caramel in advance, or while your pie dough is chilling.
By the way, here is a complete list of the best apples for baking.

These Step-by-Step Photos Will Help
My pie crust recipe makes enough dough for a double-crusted pie. Start by rolling out your bottom pie crust (about 12 inches in diameter) and fitting it into a 9-inch pie dish.

Next, add the apple filling to the crust. You may think, “There is way too much filling, it won’t fit!” But it will, I promise. Pile it high.

Now pour about 1/2 cup of salted caramel over the apples.

Take the remaining chilled pie dough out of the refrigerator. Roll it out into a 12- to 14-inch-diameter circle. I like to make a lattice pie crust for the top. I used 18 strips of pie dough to lattice and they were about 1/2—3/4 inch thick… 9 strips going each way. Crimp the pie crust edges with a fork, to seal in all that caramel-apple goodness.

Before baking, brush the top with an egg wash, for that golden sheen, then sprinkle with coarse sugar, for a little sparkle and crunch. This is exactly how I finish off blueberry pie, too!

Other Topping Options
Of course, you can use thicker strips like I used for this peach pie, or a combination of thick and thin strips like I used on this cherry pie. You could also try something extra decorative by learning How to Braid Pie Crust or following my Pie Crust Designs Tutorial.
Or… feel free to skip the top crust entirely (save the other half of the pie dough for a pumpkin pie!) and use the oat streusel topping from this blueberry crumble pie or the crumb topping from this apple crumble pie. I often like to mix this recipe with that topping!
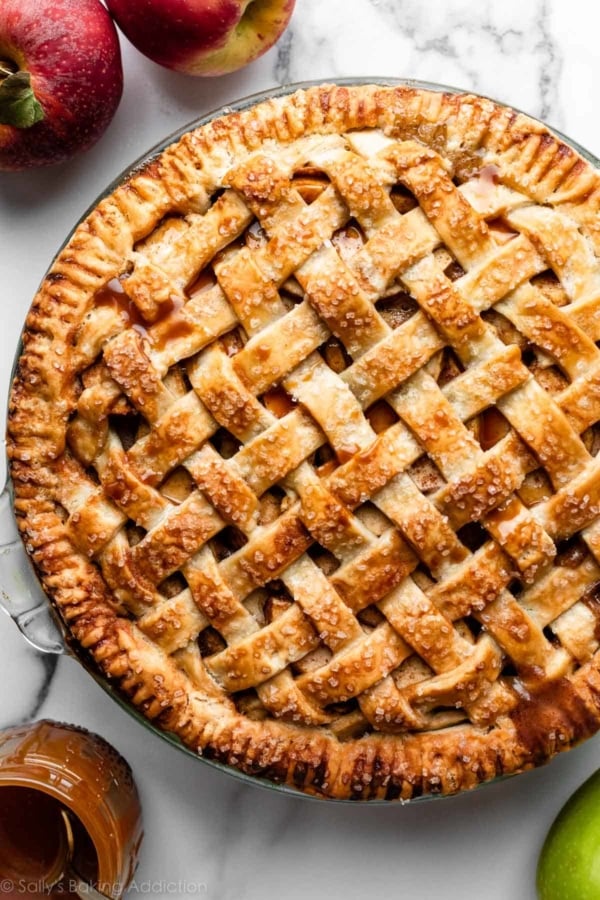

Once the pie filling is bubbling, and the crust is golden brown, the pie is done. Wait for the pie to cool completely, and then you can slice and serve. As always, you can serve with a scoop of vanilla ice cream and since you’ll have some leftover, add a drizzle of salted caramel on top. These are the *chef’s kiss* perfect finishing touches to your salted caramel apple pie.
Salted Caramel Apple Pie Success Tips
- Uniform Apple Slices: Do your best to cut the apple slices to be all the same thickness. Why? You don’t want some thick solid apples and some thin mushy apples. You want them all to bake into a deliciously soft-yet-crisp texture. Aim for about 1/4-inch-thick slices.
- Cold Pie Dough: Keep all of the pie dough you aren’t directly working with in the refrigerator. Warm or room-temperature pie dough is impossible to roll and handle.
- Make-Ahead Salted Caramel: You can make the salted caramel in advance, and refrigerate for up to 1 month or freeze for up to 3 months. Thaw in the refrigerator or at room temperature, then heat it up before using. After refrigerating, the caramel will be cold and solid, so you’ll need to warm it up to bring it back to a liquid consistency you can pour over the pie.
Recommended Tools
Be sure to check out my top 10 best pie baking tools, but here are a few specific tools I recommend for making this salted caramel apple pie:
- Vegetable Peeler or Johnny Apple Peeler
- Rolling Pin
- 9-inch Pie Dish
- Kitchen Shears
- Pastry Wheel or Pizza Cutter
- Pastry Brush
- Pie Crust Shield… or make your own—here’s how: Cut a 14-inch square of aluminum foil. Fold in half. Cut out a 5-inch semi-circle on the folded edge. Unfold. Carefully fit the aluminum foil over the pie crust edges, securing down on the sides as best you can (careful, the pie dish is hot!), leaving the center of the pie exposed.
- An Instant Read Thermometer is optional but helpful for using the internal temperature to determine when the pie is done baking. The internal temperature should be around 200°F (93°C) when done.
This recipe is part of Sally’s Pie Week, an annual tradition where I share a handful of new recipes that fit into the pie/crisp/tart category. Join the community below!
Print
Salted Caramel Apple Pie
- Prep Time: 3 hours (includes pie crust)
- Cook Time: 1 hour, 5 minutes
- Total Time: 7 hours (includes cooling)
- Yield: 8-10 servings
- Category: Pie
- Method: Baking
- Cuisine: American
Description
Gooey cinnamon-spiced and salted caramel-infused apples join my buttery flaky pie crust to make this absolutely incredible apple pie variation. I love this salted caramel apple pie with a classic lattice top, but you can try the oat streusel from this blueberry crumble pie or the crumb topping from my apple crumble pie. Bake and cool the pie completely, and then top with even more salted caramel sauce.
Ingredients
- Homemade Pie Crust or All Butter Pie Crust (both recipes make 2 crusts, 1 for bottom and 1 for top)
- 1 cup (240ml) salted caramel sauce, divided (I recommend my Homemade Salted Caramel)
- 10 cups (1250g) 1/4-inch-thick apple slices (about 8 large peeled and cored apples)*
- 1/2 cup (100g) granulated sugar
- 1 Tablespoon (15ml) fresh lemon juice
- 1/4 cup (31g) all-purpose flour (spooned & leveled)
- 1 and 1/2 teaspoons ground cinnamon
- 1/4 teaspoon ground allspice OR ground cloves (either are fine)
- 1/4 teaspoon ground nutmeg
- egg wash: 1 large egg beaten with 1 Tablespoon (15ml) milk
- optional: coarse sugar for sprinkling on crust
Instructions
- The crust: Prepare either pie crust recipe through step 5.
- If you are not using store-bought salted caramel sauce, make the homemade version. You’ll want to make it now so it can cool as the pie dough chills in the refrigerator.
- Make the filling: In a large bowl, stir the apple slices, sugar, lemon juice, flour, cinnamon, allspice/cloves, and nutmeg together until thoroughly combined. Set aside.
- Preheat oven to 400°F (204°C).
- Roll out the chilled pie dough: On a floured work surface, roll out one of the discs of chilled dough (keep the other one in the refrigerator). Turn the dough about a quarter turn after every few rolls until you have a circle 12 inches in diameter. Carefully place the dough into a 9-inch pie dish that’s 1.5 to 2 inches deep. Tuck the dough in with your fingers, making sure it is smooth.
- Spoon the filling into the crust. It will seem like a lot of apples; that’s ok. Pile them high, and tightly together. Drizzle evenly with 1/2 cup (120ml) of the caramel sauce. It’s ok if the caramel sauce is still a little warm. (If homemade salted caramel has solidified, warm it on the stove or in the microwave until it’s pourable.)
- Finish assembling: Remove the other disc of chilled pie dough from the refrigerator. Roll the dough into a circle that is 12 to 14 inches diameter. Using a pastry wheel, sharp knife, or pizza cutter, cut strips of dough; in the pictured pie, I cut 18 1/2-inch to 3/4-inch wide strips. Carefully thread the strips over and under one another, pulling back strips as necessary to weave. (Here’s a lattice pie crust tutorial if you need visuals.) Use a small paring knife or kitchen shears to trim off excess dough. Fold the overhang back towards the center of the pie, and pinch the edges to adhere the top and bottom crusts together. Crimp or flute the pie crust edges to seal.
- Lightly brush the top of the pie crust with the egg wash. Sprinkle the top with coarse sugar, if using.
- Place the pie onto a large baking sheet and bake for 25 minutes. Then, keeping the pie in the oven, reduce the oven temperature down to 375°F (190°C). Place a pie crust shield (see Note for homemade shield) on the edges to prevent them from over-browning. Continue baking the pie until the caramel apple filling is bubbling around the edges, 35–40 more minutes. This sounds like a long time, but under-baking the pie means an unfinished filling with firm apples with paste-like flour. If you want to be precise, the internal temperature of the filling taken with an instant read thermometer should be around 200°F (93°C) when done. Tip: If needed towards the end of bake time, remove the pie crust shield and tent an entire piece of foil on top of the pie if the top looks like it’s getting too brown.
- Remove pie from the oven, place on a cooling rack, and cool for at least 3 hours before slicing and serving. Filling will be too juicy if the pie is warm when you slice it. Drizzle the entire pie or each slice with remaining salted caramel.
- Cover and store leftover pie at room temperature for up to 1 day or in the refrigerator for up to 5 days.
Notes
- Make Ahead / Freezing Instructions: A couple ways to make ahead of time! Make 1 day in advance: After it cools, cover tightly and keep at room temperature. The pie crust dough can also be prepared ahead of time and stored in the refrigerator for up to 5 days or in the freezer for up to 3 months. Baked pie also freezes well for up to 3 months. Thaw overnight in the refrigerator and allow to come to room temperature before serving. Prepared filling (without caramel) can also be frozen up to 3 months, thaw overnight in the refrigerator before using.
- Special Tools (affiliate links): Glass Mixing Bowls | Rolling Pin | Kitchen Shears | 9-inch Pie Dish | Baking Sheet | Pastry Wheel or Pizza Cutter | Pastry Brush | Pie Crust Shield | Coarse Sugar | Instant Read Thermometer
- Best Apples to Use: Firmer apples are ideal for baking. Avoid soft, mealy, and mushy apples. For depth of flavor, it’s best to bake with a mix of tart and sweet apples such as tart Granny Smith (in my opinion, this is the best overall apple for baking) and a sweet variety like Honeycrisp, Jazz, Fuji, or Pink Lady.
- Aluminum Foil Pie Crust Shield: You can purchase a pie crust shield or make one from aluminum foil. Cut a 14-inch square of aluminum foil. Fold in half. Cut out a 5-inch semi-circle on the folded edge. Unfold. Carefully fit the aluminum foil over the pie crust edges, securing down on the sides as best you can (careful, the pie is hot!), leaving the center of the pie exposed.
- Hand Pies: If you want to make smaller individual apple pies, try my apple hand pies recipe. You may also like these caramel apple turnovers.










I used Sally’s recipe for pie crust and then her crumb apple pie topping and this was a HUGE hit on Thanksgiving! There were words like addictive being thrown around. The salted caramel initially intimidated me but it turned out amazing and I selfishly hid the leftovers for myself haha!
Easy to follow however, WAY TOO MANY apples. An unnecessary amount. I ended up making an apple crumb alongside this. I felt it was so wasteful and way off in measurements
I love this recipe, but every time I make it, as it’s cooling, the apples settle and the crust stays up, leaving it partially hollow. Do you have recommendations for a version that would involve precooked apples? I just made this for Thanksgiving tomorrow, so thinking about next year!
Hi Paul, yes, we have an optional pre-cook step in our regular apple pie recipe, which I would recommend if you are having this problem. See step 3 in the instructions. Hope this gives you a perfect pie!