Sous Vide Whole Chicken
As an Amazon Associate I earn from qualifying purchases.
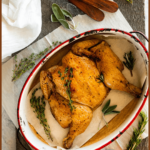
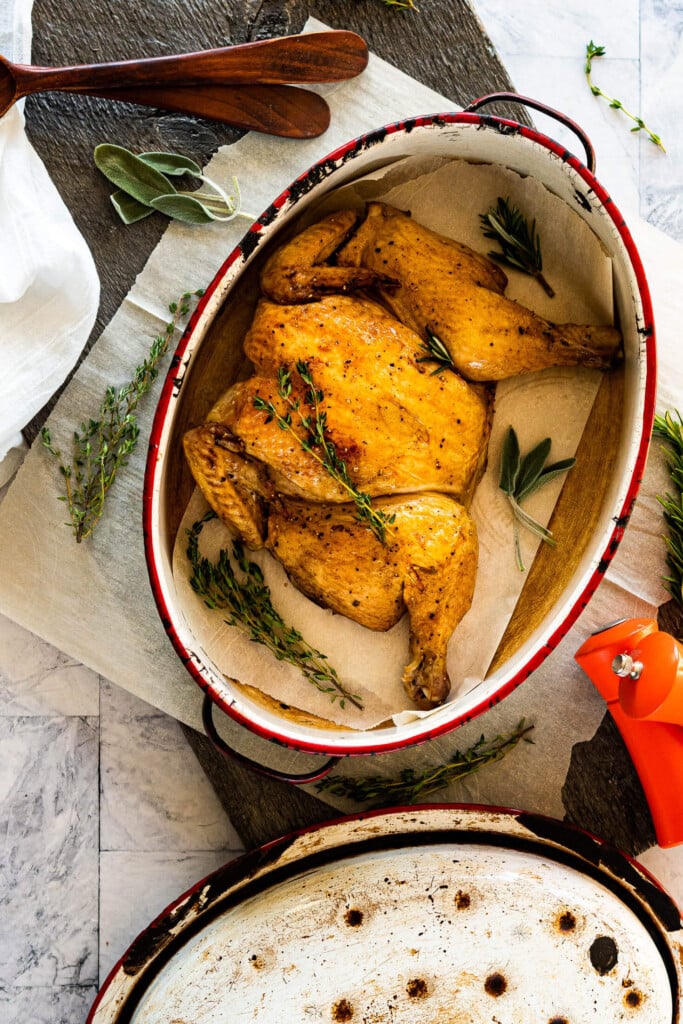
Sous vide whole chicken is a whole new world if you are roasted chicken challenged! It’s pretty much impossible to overcook and will give you a tender juicy chicken every time.
Cooking a great chicken is hard. I don’t care if you’re Martha Stew or Ree Drummond, the Pioneer Woman, herself.
Anyone can cook a chicken. But a great chicken… that’s much more difficult.
I often enlist my sous vide to give me a hand when cooking chicken, because the results are consistent, delicious, and foolproof, even for me!
This sous vide whole chicken recipe is dedicated to a perfect chicken dinner.
Jump to:
Tips + Tricks
No. 1 –> New sous vide cooker? Check out my Sous Vide 101 post for everything you need to know about cooking with an immersion circulator.
No. 2 –> Using your sous vide precision cooker to cook chicken is the best way to ensure a high-quality, delicious meal each and every time. This “new way” of cooking will cook to the perfect temperature, the sous vide machine will do all the hard work- and your chicken will be tender and juicy!
No. 3 –> I absolutely cannot get over the Avid Armor CHAMBER VAC I’ve got, the build quality is incredible, it’s beyond easy to use, and it’s not so over the top large that I can’t move it around by myself. They’ve also generously offered a discount code JUST for you, kitchen buddies! Use the code CRAVE to save on your purchase.
Key Ingredients
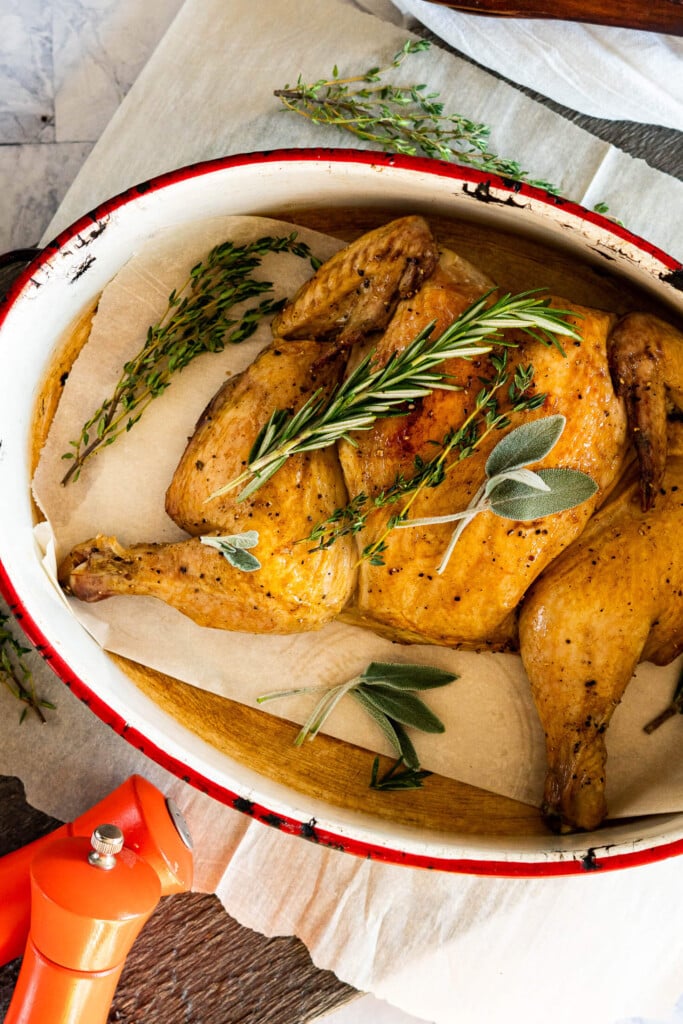
Chicken: Look for a smaller 3 – 4 lb chicken. These are often called broiler or fryer chickens. They are smaller and younger than roasting chickens and have milder-tasting meat. Aim to cook your chicken within 1-2 days of purchase, as the quality is higher the fresher it is.
Herbs: While you could technically cook your chicken with only salt and pepper, adding herbs to the bag really infuses the chicken with amazing flavor. I often buy poultry herb packs from the grocery store – they’ve got rosemary, thyme, and sage.
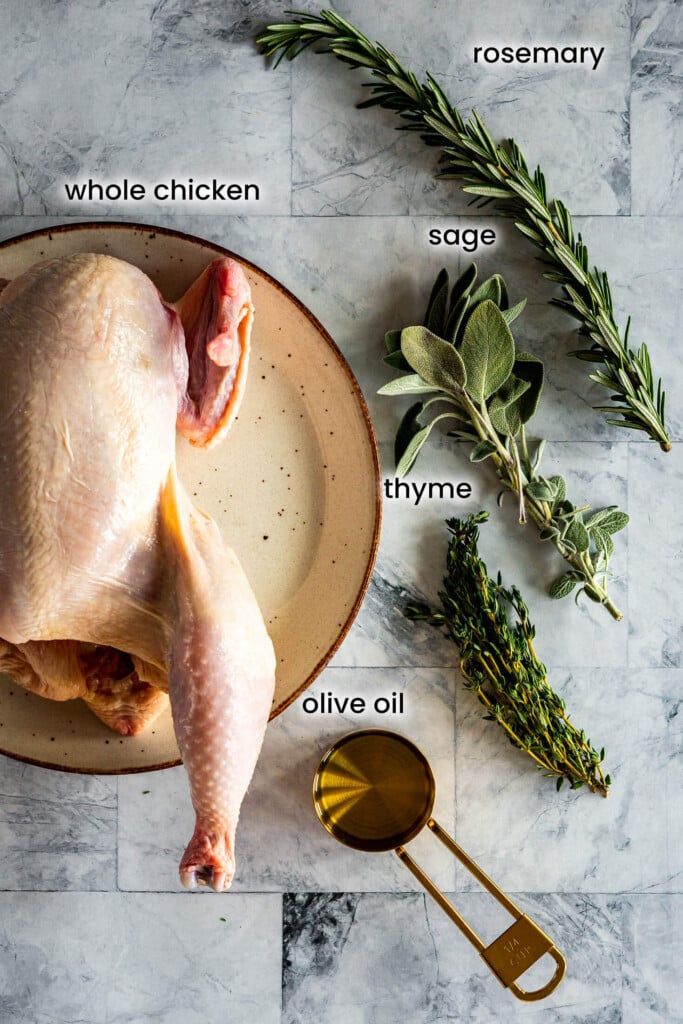
How To Cook A Whole Chicken Sous Vide
Prepare it:
- Preheat the sous vide water bath to 150f.
- Place chicken on a cutting board, breast side down. Using sharp poultry shears, spatchcock the chicken. Cut along both the left and right sides of the spine to remove it from the chicken. Turn the chicken over and press down firmly to crack the breast bone and flatten the bird, if necessary.
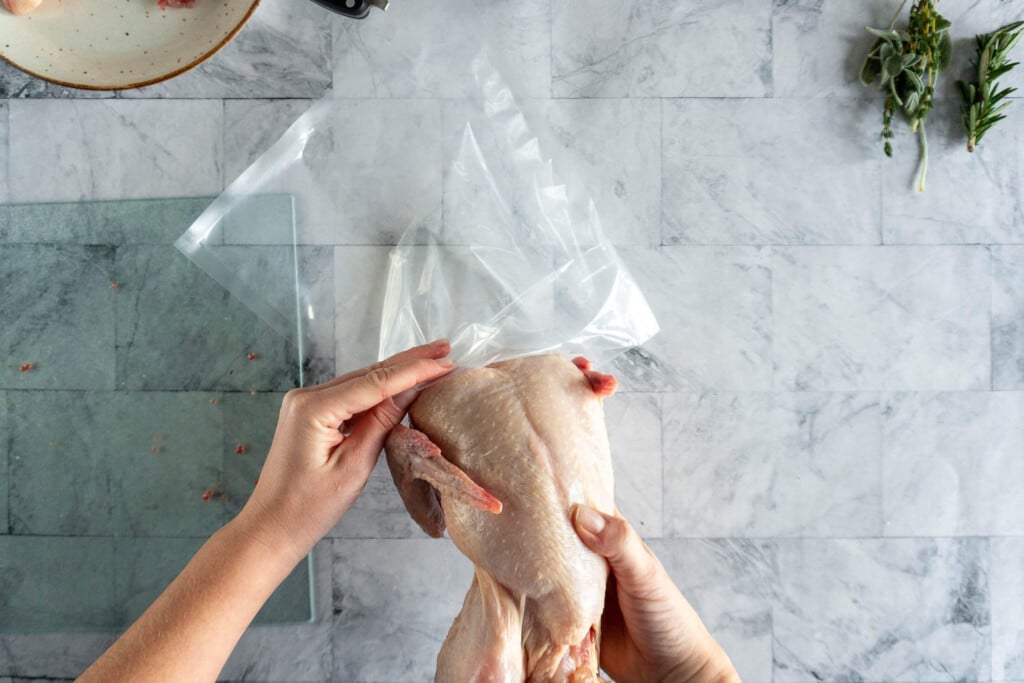
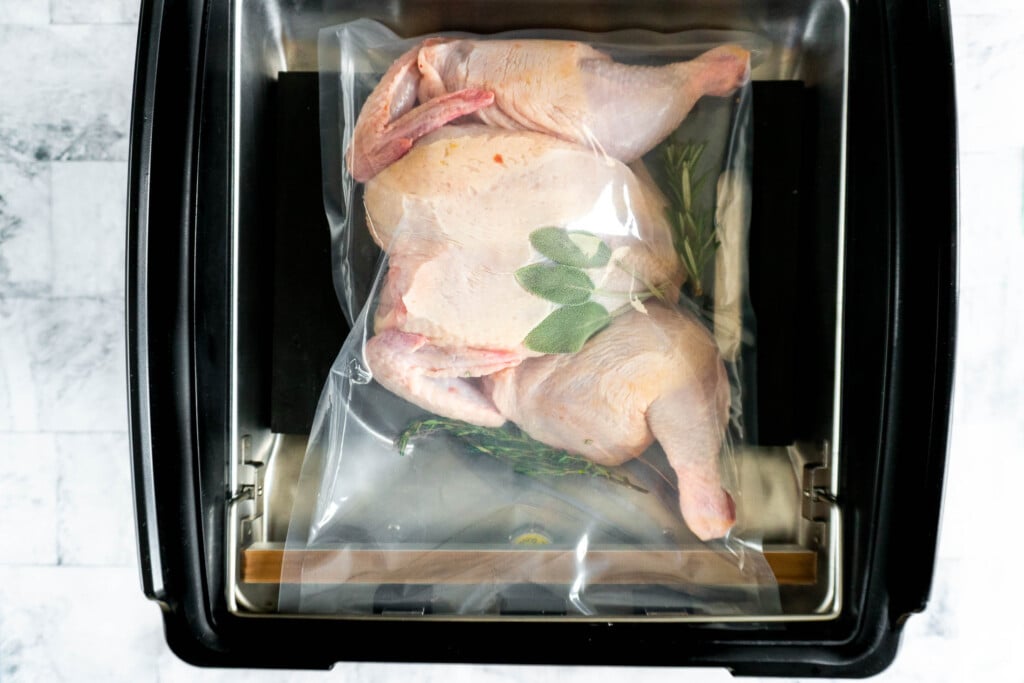
- Transfer spatchcocked chicken to a large sous vide bag. I find the 10×13 bags from Avid Armor are the perfect size for this recipe!
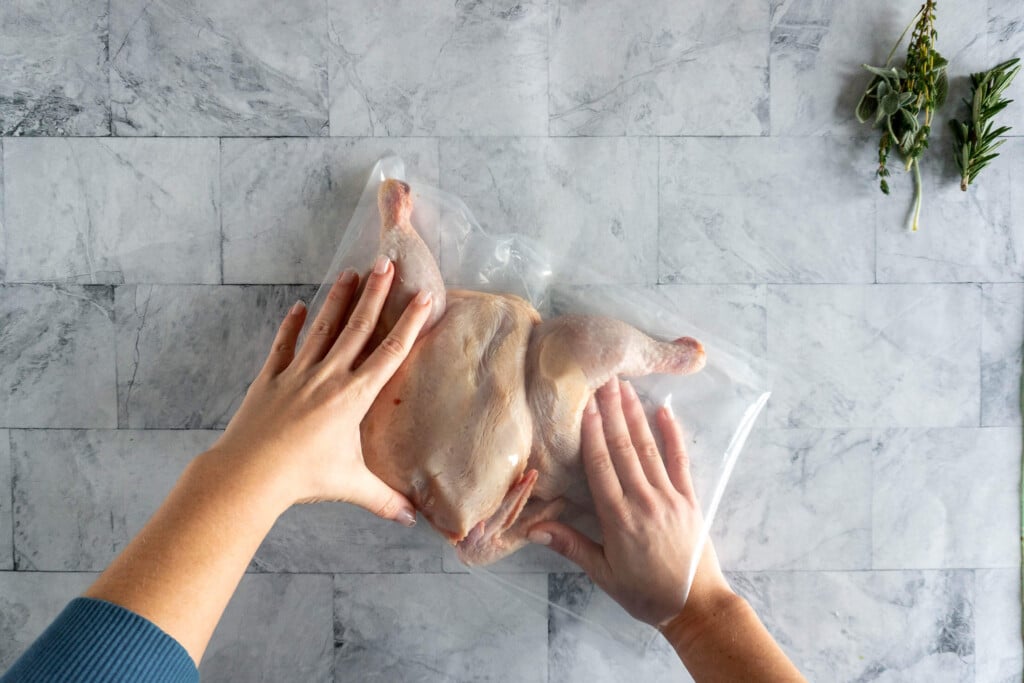
- Flatten the chicken by extending the legs below the torso and tuck in the wings.
Seal it:
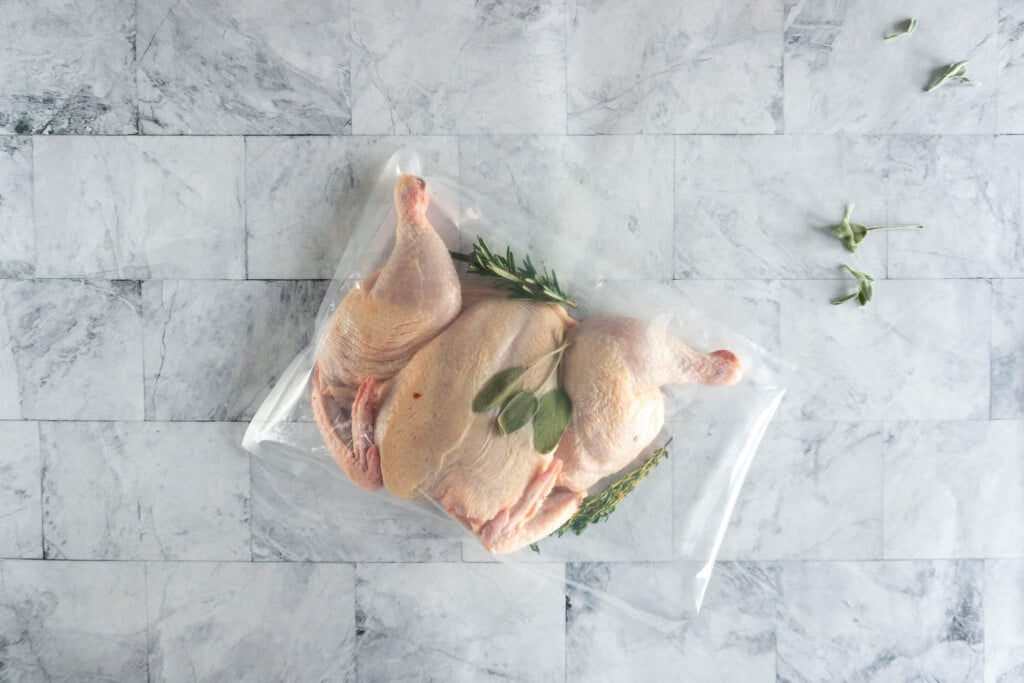
- Add a 2″ sprig of rosemary, a sprig of thyme and a few sage leaves to the vacuum seal bag. If you’re concerned about the color of the skin, place the herbs in the back of the bag, as the herbs can discolor the skin.
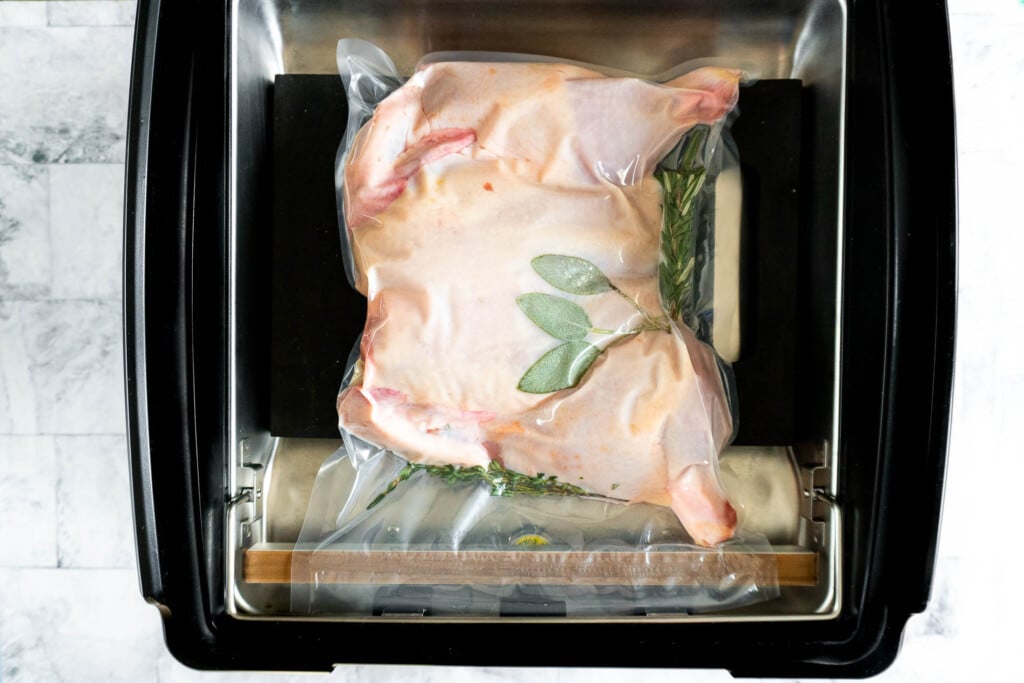
- Using your vacuum sealer, seal the bag. With my Avid Armor sealer the perfect settings for this recipe are 50 vac and 5 seal. It’s important to use a thick bag for this recipe as we’ve cut through the bones and some of them may be jagged – meaning they could puncture the bag. I would avoid a ziploc bag for this sous vide chicken recipe.
Sous vide it:
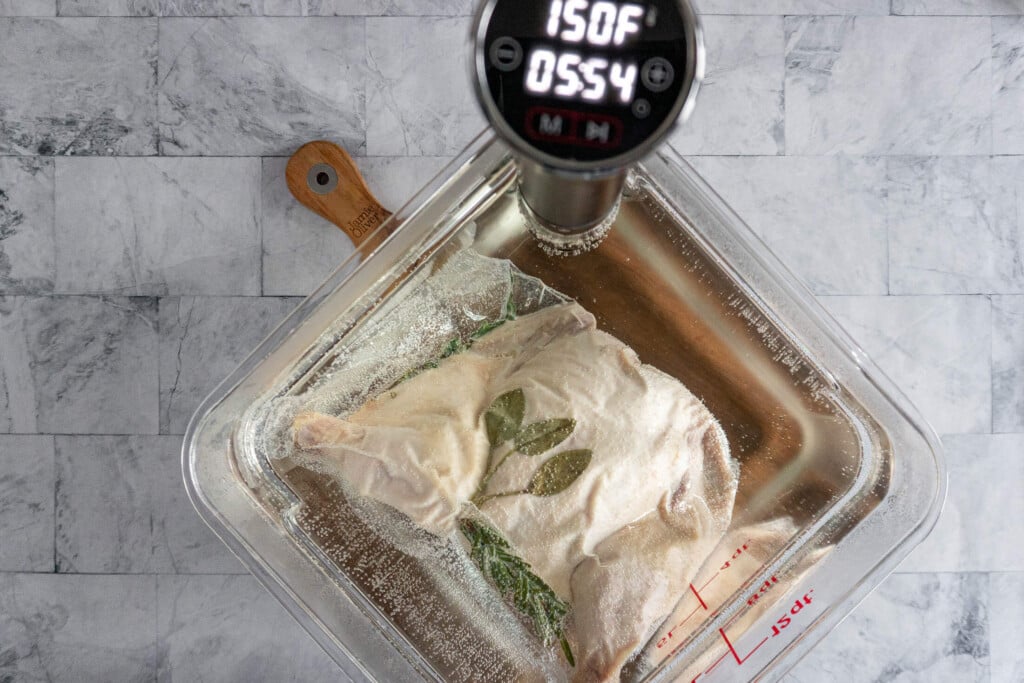
- Place the prepared and vacuum-sealed whole chicken into the preheated sous vide bath.
- Cook the chicken at 150 degrees f for 6 hours.
Roast it:
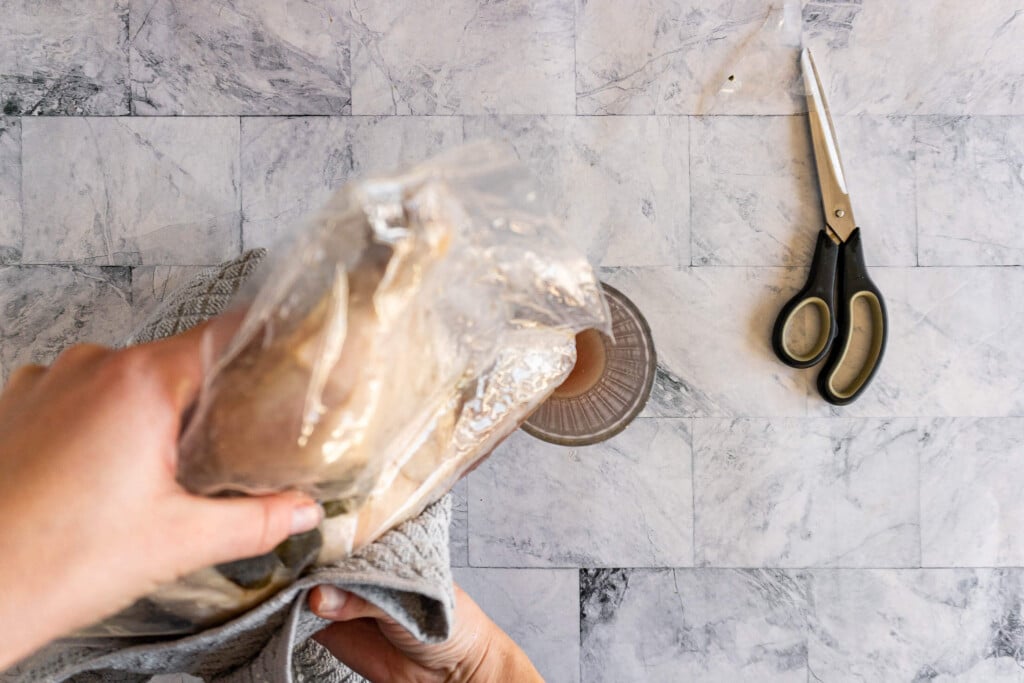
- Remove the chicken from the water bath and cut open a corner of the vacuum bag to pour off the bag juices. Some people save these for gravy, but I never do. The option is there regardless!
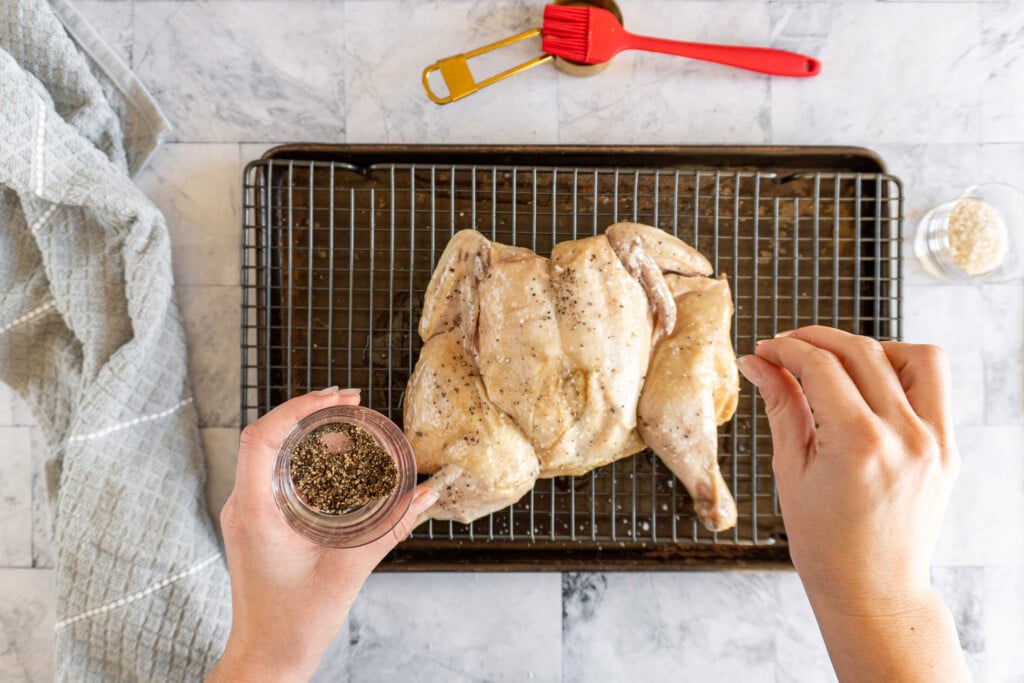
- Take the chicken out of the bag and place it on a wire mesh rack placed inside a baking sheet. Preheat oven to 450f. Allow the chicken to sit at room temperature on the rack while the oven preheats. This will dry the skin and make for delicious, crispy skin, while also cooling the chicken preventing overcooking!
- Once the oven is preheated, gently brush the entire surface of the chicken with olive oil, season with salt and pepper to taste, and place in the oven to roast for 20 minutes, or until the skin is golden brown and crispy.
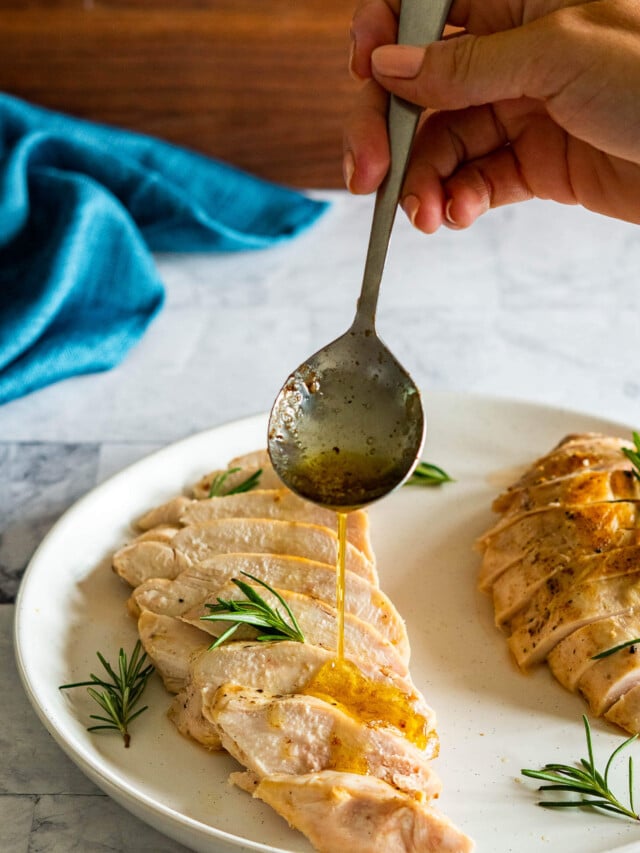
- Remove chicken from the oven and rest, uncovered for 5 minutes before carving and serving.
Batch + Storage
Batch:
This recipe makes one 3 – 4 pound chicken, which is enough for a dinner for my family of 4 with a good amount of leftovers.
If desired and your water bath is large enough, you can certainly cook more than one chicken! Just ensure that each chicken is in its own bag, and there is room for water to circulate between and around each sous vide bag.
Storage:
Leftover sous vide chicken can be kept in an airtight container in the fridge for up to 3 days, or vacuum-sealed and frozen for up to 6 months. Use your leftover chicken in my easy instant pot chicken noodle soup or in chicken salad sandwiches! Save the carcass to make some chicken broth.

Why Spatchcock?
It’s super important to spatchcock the chicken for this recipe! It ensures even cooking to the proper temperature and pasteurization.
By using a butterflied chicken, we are able to lay it flat to vacuum seal. This eliminates the air that would normally be in the cavity. We know that water is an excellent heat conductor, but air is not – so allowing the cavity of the bird to be filled with air means that we can’t ensure that proper heat circulation occurs around ALL of the meat.
Spatchcocking the chicken allows us to sous vide a whole chicken without making poached chicken in another liquid, ensuring the texture is perfect while the flavor of the chicken isn’t diluted.
Time + Temp
When choosing the temperature at which to sous vide your chicken there are a few factors to take into consideration.
We’ve all learned that in order to be safe, chicken must be cooked to a temperature of 165f, right? Wrong!
Food safety and pasteurization rely on both temperature and time.
Cooking a whole chicken to an internal temperature of 165f pasteurizes it instantly, which is perfect for the average person cooking a chicken. But you, you’re anything but average!
Cooking an entire chicken to 165f affects the quality and leaves something to be desired. By using this cooking process and playing with longer times and lower temperatures, we can ensure all parts of our sous vide chicken will be fully cooked, but tender, juicy, and delicious.
Note: See BALDWIN’S PASTEURIZATION CHART for more information.
150f: Juicy, tender, but slightly stringy breast. This temperature is great for chicken that will be served cold as well as hot. You may notice some pink/red coloring around the bones, but the chicken is fully cooked. 150f is my preferred temperature for sous vide whole chicken.
160f: Less juicy, but still tender. The chicken breast cooked at this temperature results in a stringy texture very similar to traditionally cooked chicken. This chicken is great for shredded or pulled chicken. I recommend newcomers to sous vide chicken start here as it’s the most familiar in texture and appearance to traditionally cooked chicken.

Make Ahead
One great thing about this recipe it is make-ahead friendly. If you’re a dedicated meal prepper or like to buy whole chickens in bulk, then season and vac seal before tossing in the freezer for later, you’re in luck!
This sous vide recipe can easily be adapted to frozen chicken. Here’s the trick: add 30-45 minutes to the cooking time. So if you’d normally cook your chicken for 6 hours at 150f, then toss in a seasoned frozen chicken and cook it for 6.5 hours. Bob’s your uncle!
The other option is to thaw the chicken overnight in the fridge before adding it to the sous vide – this way you can cook for 6 hours instead of longer.
More Sous Vide Recipes To Try :
Why Cook Chicken Sous Vide
There are many reasons cooks begin cooking sous vide, if you’re like me, you started to cook sous vide because of your absolute inability to know there’s a cooking method out there that you don’t use. HA!
But, now, I know better. I firmly believe that the end result that comes out of a sous vide is reason enough to start cooking this way!
Cooking whole chicken sous vide will result in delicious, tender, and juicy. The science behind it is fascinating, and the taste is incredible.
When cooking chicken with traditional methods, the meat is subjected to higher temperatures than desired doneness temperature, this causes the outside to reach cooked temperature before the center. By the time the center reaches “pasteurized” temperature (165f), everything else is likely overcooked. Not to mention the breast and dark meat are actually preferably cooked to different doneness!
Water, on the other hand, is a fantastic heat conductor, so submerging a vacuum-sealed and spatchcocked chicken into a water bath allows you to cook it to a specific temperature – all the way through. Allowing the chicken to cook completely through without overcooking delivers the most flavorful chicken you’ll ever have.
Variations + Substitutions
There are so many ways to make this recipe your own! I love it exactly as written but here are a couple of ways to tweak it just a bit!
- Don’t like rosemary, thyme, or sage? Sub those herbs out for ones you like.
- No fresh herbs at home? Try a quick sprinkle of kosher salt, black pepper, garlic powder, onion powder, and bay leaves in the bag.
- Feel like some char on that chicken? Crisp the skin on your grill!
- Air fryer junkie? You can brown your chicken in the air fryer too! Just keep an eye on it because it can burn quickly.
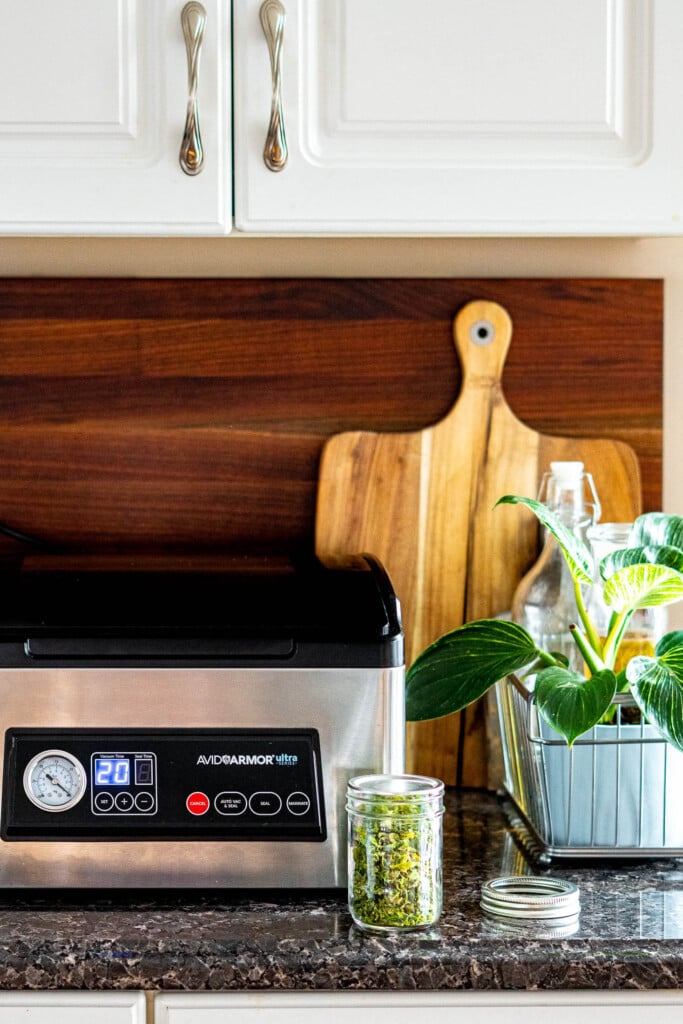
Recommended Equipment
AVID ARMOR Chamber Vacuum Sealer: This is a beautiful piece of culinary machinery. I ohh’d and ahh’d when I got it home! I cannot get over how much better a CHAMBER VACUUM SEALER works than a bar-style sealer. This well-made sealer is going to be a fixture in my kitchen for years and years and years. If you cook, hunt, or harvest a lot, you’ll definitely be interested in this unit. Use the discount code CRAVE to save on your purchase!
📖 Printable Recipe
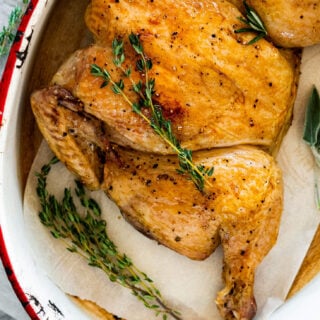
Sous Vide Whole Chicken
Ingredients
- 3-4 lb fryer chicken
- 2" sprig fresh rosemary
- 2" sprig fresh thyme
- 2" sprig fresh sage
- 2 tablespoons olive oil
- salt and pepper to taste
Instructions
Prepare it:
- Preheat sous vide water bath to 150f.
- Place chicken on a cutting board, breast side down. Using sharp poultry shears, spatchcock the chicken. Cut along both the left and right sides of the spine to remove it from the chicken. Turn the chicken over and press down firmly to crack the breast bone and flatten the bird, if necessary.
- Transfer spatchcocked chicken to vacuum seal bag.
- Flatten the chicken by extending the legs below the torso, tucking in the wings.
Seal it:
- Add a 2" sprig of rosemary, a sprig of thyme and a few sage leaves to the vacuum seal bag. If you're concerned about the color of the skin, place the herbs in the back of the bag, as the herbs can discolor the skin.
- Using your vacuum sealer, seal the bag.
Sous vide it:
- Place the prepared and vacuum-sealed whole chicken into preheated water bath.
- Cook the chicken at 150f for 6 hours.
Roast it:
- Remove the chicken from the water bath and cut open a corner of the vacuum bag to pour off the bag juices.
- Take the chicken out of the bag and place it on a wire mesh rack placed inside a baking sheet. Preheat oven to 450f. Allow the chicken to sit at room temperature on the rack while the oven preheats.
- Once the oven is preheated, gently brush the entire surface of the chicken with olive oil, season with salt and pepper to taste, and place in the oven to roast for 20 minutes, or until skin is golden brown and crispy.
- Remove chicken from the oven and rest, uncovered for 5 minutes before carving and serving.
Notes
Batch:
This recipe makes one 3 – 4 pound chicken, which is enough for a dinner for my family of 4 with a good amount of leftovers. If desired and your water bath is large enough, you can certainly cook more than one chicken! Just ensure that each chicken is in it's own bag, and there is room for water to circulate between and around each sous vide bag.Storage:
variations + substitutions
There are so many ways to make this recipe your own! I love it exactly as written but here are a couple of ways to tweak it just a bit!- Don't like rosemary, thyme, or sage? Sub those herbs out for ones you like!
- No fresh herbs at home? Try a quick sprinkle of kosher salt, black pepper, garlic powder, onion powder, and a bay leaf in the bag.
- Feel like some char on that chicken? Crisp the skin on your grill!
- Air fryer junkie? You can brown your chicken in the air fryer too! Just keep an eye on it because it can burn quickly.
time + temp
Here are a couple of great temperature options for your sous vide chicken: 150f: Juicy, tender, but slightly stringy breast. This temperature is great for chicken that will be served cold as well as hot. You may notice some pink/red coloring around the bones, but the chicken is fully cooked. 150f is my preferred temperature for sous vide whole chicken.Recommended Equipment + Ingredients
Nutrition
Pin This Sous Vide Whole Chicken Recipe!
